



The moment of truth for a cake happens twice: once when you open the oven door, and again twenty minutes later when you press the center with a fingertip. A level, springy top means everything lined up. A dip, a crack, or a dry crumb means something in the process — measuring, mixing, or heat — tipped out of balance. The good news is that cakes fail in patterns. Learn the patterns and you can correct them on the next bake instead of switching recipes and hoping for better luck.
Why Cakes Sink in the Middle
A sunken center almost always means the structure set before the middle finished rising, or the middle never baked through in the first place. The usual suspects are familiar once you know where to look.
Too much leavening. Extra baking powder or soda makes the batter balloon fast, then collapse when the bubble walls cannot hold the weight. As a general baseline, about one teaspoon of baking powder per cup of flour works for a standard butter cake. More is not better. If your baking powder has been in the cupboard for years, test it: stir a teaspoon into hot water and watch for a vigorous fizz. No fizz, no lift.
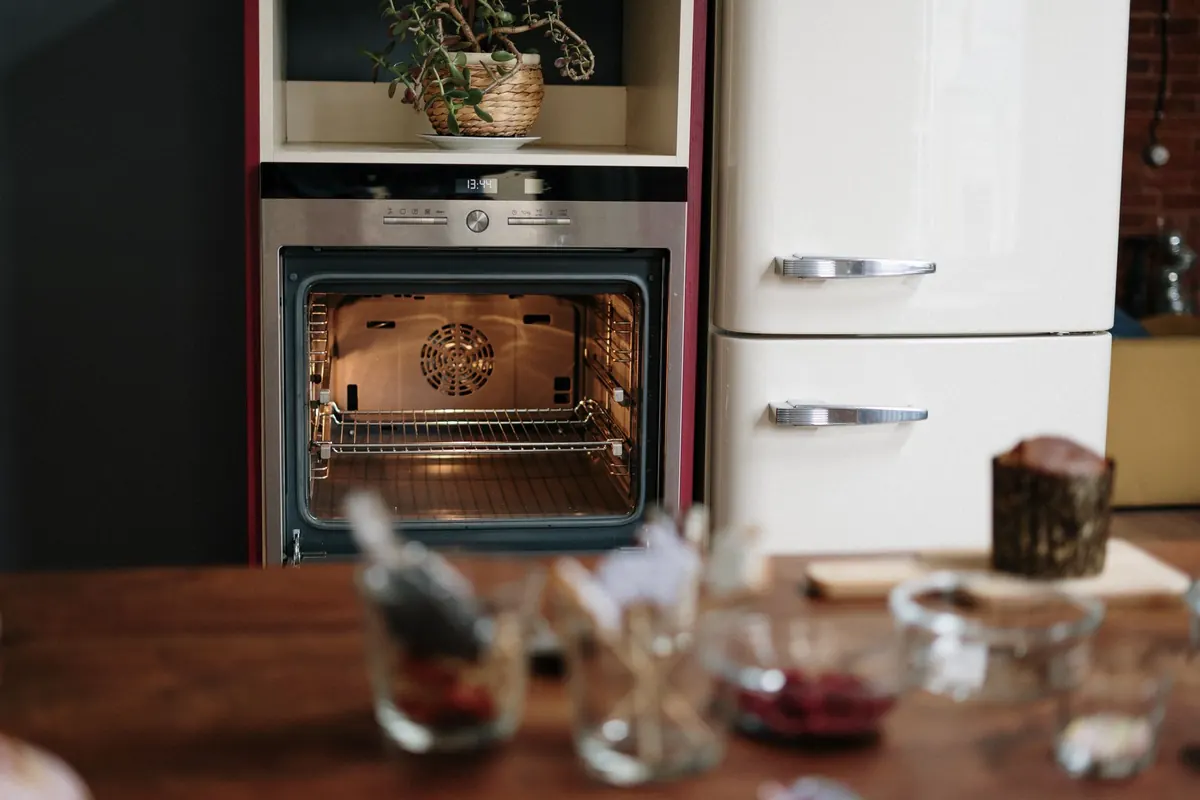
An oven door opened too early. Cold air rushing in drops the temperature and can collapse a risen center in seconds. Wait until the cake has baked for at least two-thirds of the stated time before you peek, and then open the door only as far as you need to.
Underbaking. Recipes are guides, not guarantees. Ovens run hot and cold, and batter temperature varies with the day.
How to Tell When It Is Actually Done
Press the center gently with a fingertip — it should spring back rather than leave a dimple. A skewer inserted in the middle should come out with a few moist crumbs, not wet batter. The edges should have pulled away from the pan just slightly. If you want a number, most butter and sponge cakes finish somewhere around 200°F in the center. Then cool the cake in its pan for ten to fifteen minutes before turning it out, which lets the crumb firm up while it is still warm enough to release cleanly.
Dry, Crumbly Layers
Dryness is usually a flour problem before it is a fat problem. Scooping a cup straight from the bag compacts it, and you can easily pack in 20 to 30 percent more flour than the recipe intended. The fix is simple: stir the flour to loosen it, spoon it into the measuring cup, then level it with the flat side of a knife. If you own a scale, weigh it — 120 grams per cup of all-purpose flour is a widely used standard, and it removes the guesswork entirely.
Overbaking is the second culprit. Start checking five to eight minutes before the recipe's stated time. If a cake comes out slightly dry anyway, brush the warm layers with a simple syrup made from equal parts sugar and water simmered until clear. It adds moisture and a little sweetness without turning the cake soggy.
Domed Tops and Uneven Crusts
A gentle dome is normal. A tall, cracked peak with a sunken ring around it means the outside edge set before the center could catch up. That happens when the oven runs hot, when the pan is too small for the amount of batter, or when the cake sits too close to the top heating element.
Bake on the middle rack, and keep the pan no more than two-thirds full. If your oven runs hot, an inexpensive oven thermometer will tell you the truth, and you can adjust the dial accordingly. Insulated bake-even strips wrapped around the pan slow the edges down so the center has time to rise with them. Dark nonstick pans brown faster than shiny aluminum, so drop the temperature by 25°F when you use one. If a dome has already formed and you need flat layers for stacking, let the cake cool completely, then trim it level with a long serrated knife.
Tunnels, Cracks, and a Tough Crumb
Tunnels — those odd air channels running through the crumb — come from overmixing once the flour goes in, or from too much leavening. Mix on low speed, or better, fold the last of the flour in by hand with a spatula. Stop while a few streaks of flour are still visible; they will disappear as you finish folding. A batter that looks perfectly smooth has usually been beaten too far.
Cracks on top are often cosmetic. Pound cakes and many butter cakes crack as they rise, and it signals nothing worse than a strong oven spring. A tough, rubbery crumb is different: it usually means the butter and sugar were creamed past light and fluffy, or the eggs were added too quickly and the batter curdled. Add eggs one at a time, room temperature, and beat just until each disappears.
Sticking, Stalling, and Pan Problems
Grease the pan, line the bottom with parchment, grease the parchment, then dust with flour — or cocoa for chocolate cakes, which prevents pale streaks. Glass and ceramic pans heat more slowly than metal, so reduce the oven temperature by 25°F and expect a slightly longer bake. Leave two inches of space between pans and between the pans and the oven walls; crowded ovens create hot spots. If you rotate the pans, do it once, and only after the cakes have set.
Quick Symptom-to-Cause Reference
- Sunken center: too much leavening, underbaking, or the oven door opened too early.
- Domed, cracked top: oven too hot, pan too small, or batter overmixed.
- Dry crumb: too much flour packed into the cup, or a few extra minutes in the oven.
- Tunnels: overmixing after the flour was added, or excess baking powder.
- Tough and rubbery: butter and eggs overbeaten, or cold eggs curdling the batter.
- Stuck to the pan: thin greasing, or cooling the cake completely before turning it out.
- Dark, hard edges: a dark pan or a hot oven. Lower the temperature by 25°F.
- Pale, gummy bottom: low oven temperature or a light-colored pan that reflects too much heat.
Before You Bake Again
- Read the recipe twice and set out every ingredient before you start, so nothing is rushed or forgotten.
- Bring butter, eggs, and milk to room temperature unless the recipe says otherwise.
- Weigh the flour, or spoon and level it. Do not scoop from the bag.
- Test your leaveners and check your oven temperature with a thermometer.
- Prep the pan before you mix the batter, not while it sits waiting.
- Start checking for doneness five minutes early, and write down what actually happened.
Keep a few notes on the recipe card — the real baking time, the temperature you used, how the crumb turned out. After two or three bakes, you will have a version tuned to your oven and your kitchen, and the troubleshooting stops being guesswork.
Photo: cottonbro studio / Pexels