

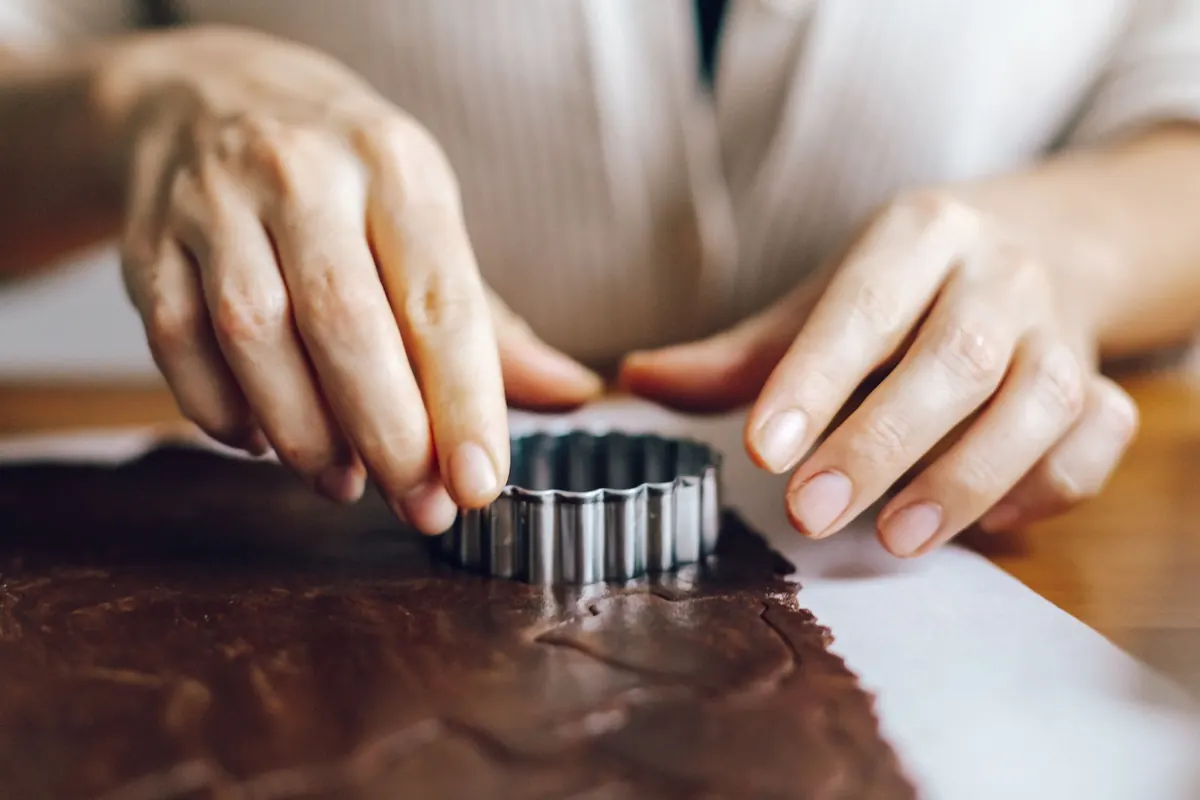



Two trays, same recipe, wildly different cookies. The only variable was forty minutes in the refrigerator. That gap is the whole story of chilling cookie dough: it is neither a formality nor a rule, and it is not always the right move. Sometimes an hour in the cold turns a greasy sheet of lace into thick, chewy cookies with caramelized edges. Sometimes it changes almost nothing. And sometimes it works against exactly the texture you were chasing.
What follows is a checklist for deciding — for your dough, your kitchen, and the cookie you actually want to eat.
What Chilling Actually Does to Dough
Cookie dough is a rough emulsion of fat, sugar, flour, and water, and temperature decides how that structure behaves once it hits the oven. Cold fat takes longer to melt, so the dough holds its shape while the edges set. Less spread means a thicker middle, a chewier bite, and a more defined shape.
Butter firms, and that changes everything
Butter softens in the 60s and melts near 90°F, so dough made with room-temperature butter starts the bake already halfway to liquid. Coconut oil is even quicker to give in — it is liquid at 76°F. Doughs built on either fat need more chill time than doughs made with cold, cubed butter.
Flour needs time to hydrate
Flour absorbs liquid slowly. A rest lets the starch and protein drink up the eggs, butter, and any liquid sweetener, which gives you an even crumb instead of a dry, powdery one. It also relaxes gluten slightly, which is why rested cut-out dough rolls without snapping back and holds a sharp edge.
Sugar dissolves, flavor deepens
Sugar crystals dissolve gradually in the dough's water. Brown sugar's molasses, vanilla, spices, salt, and any add-ins have time to spread through the mass. A spice dough or a brown-sugar-heavy chocolate chip dough tastes noticeably rounder after a night in the fridge. An hour does less than you'd hope; a day does a surprising amount.
What chilling will not do: rescue a dough with too much butter, too little flour, or a heavy hand with the mixer. Cold dough cannot fix a broken recipe.
How Long to Chill: A Working Guide
Times below are about dough temperature, not a magic clock. A cold fridge and a thin disk chill faster than a warm fridge and a fat ball. The target is dough that feels firm and cold all the way through.
- Chocolate chip, oatmeal, and other drop cookies: 30 minutes minimum; 2 hours for reliable shape; 24 to 36 hours for the best flavor and chew.
- Cut-out sugar cookies and shortbread: 2 hours minimum, overnight preferred. The dough must be genuinely firm to roll thin without sticking.
- Gingerbread and heavily spiced doughs: overnight. This is where the flavor payoff is largest.
- Snickerdoodles and cream-of-tartar doughs: 1 to 2 hours. They want a little spread for that crackled top.
- Slice-and-bake logs: 2 hours minimum, overnight for clean slices. Freeze for 30 minutes if you are slicing in a hurry.
- Brown butter doughs: 1 to 2 hours. Browned butter is soft and warm, so the dough starts out loose.
- Vegan or coconut-oil doughs: 2 hours minimum, often overnight. The fat melts at a lower temperature, so it needs more cold.
When to Skip the Chill
Chilling is a tool, not a virtue. Skip it when the cookie you want depends on spread.
- Brownies and bar cookies: mix, spread, bake. Bar doughs are meant to be soft and pourable.
- Melted-butter doughs: some chocolate chip and blondie recipes call for melted butter on purpose. A quick 15 to 20 minutes is enough to firm them to scooping consistency; a long chill can make them crumbly and uneven.
- Cakey cookies with a soft dome: if you want a puffy top and a tender crumb, a warm dough spreads into a nice round instead of a hard-edged disk.
- Thin, crisp, lacy cookies: tuiles, Florentines, and similar styles are supposed to flatten. Cold dough fights that.
- Dough that has already rested: re-chilling a batch that spent the night in the fridge adds nothing but time.
Chilling Without the Guesswork
Shape before you chill
Flatten the dough into a disk about an inch thick rather than leaving it in a ball. A disk chills to the center in a fraction of the time. If you are making slice-and-bake cookies, roll the log first, then chill. If you are scooping, portion the balls onto a tray, chill them, then move them to a bag — you can bake straight from frozen with an extra minute or two in the oven.
Wrap it properly
Press plastic wrap or a reusable wrap directly onto the surface of the dough, then put the whole thing in a bag or container. Dough left open in the fridge absorbs every smell around it — onions, leftovers, last night's takeout. This matters more than most bakers expect.
Bake from cold, and adjust
Cold dough bakes a bit slower. Add one to two minutes and judge by color and set edges rather than the timer. If your chilled dough crumbles when you scoop it, let it sit on the counter for 10 to 15 minutes — you want firm and cold, not frozen solid.
Warm kitchen, quick chills
On a hot day, even a 30-minute chill helps. Slide the portioned dough onto a tray and into the freezer for 10 minutes before baking to firm the surface fat. It is not a substitute for a real rest, but it is a good save.
Quick Checklist Before the Oven
- Decide the target: chewy and thick means chill; crisp and thin means bake now.
- Flatten the dough to an inch thick or portion it into balls or a log.
- Wrap tightly, surface contact first, then bag.
- Give drop dough 2 hours, cut-outs 2 hours minimum, spice doughs overnight.
- Bake from cold and add a minute or two to the usual time.
- Write the chill time on the recipe next to the result. That note is the most useful thing in your kitchen.
Run the One-Cookie Test
If you are unsure whether a recipe needs chilling, bake a single cookie right after mixing, then another after two hours in the fridge. Line them up side by side. Look at how far each one spread, how thick the center stayed, how crisp the edge got, and how the flavor compares. Two cookies will tell you more about your dough than any chart.
Then trust your own kitchen. An oven that runs hot, a humid summer day, and butter that sat out too long all nudge the same recipe in different directions. The checklist gives you a starting point; the test cookie gives you the answer. And if a batch spreads more than you'd like, you have the fix already: an hour in the cold, and a slightly thicker scoop next time.
Photo: RDNE Stock project / Pexels